
Boston Shaker
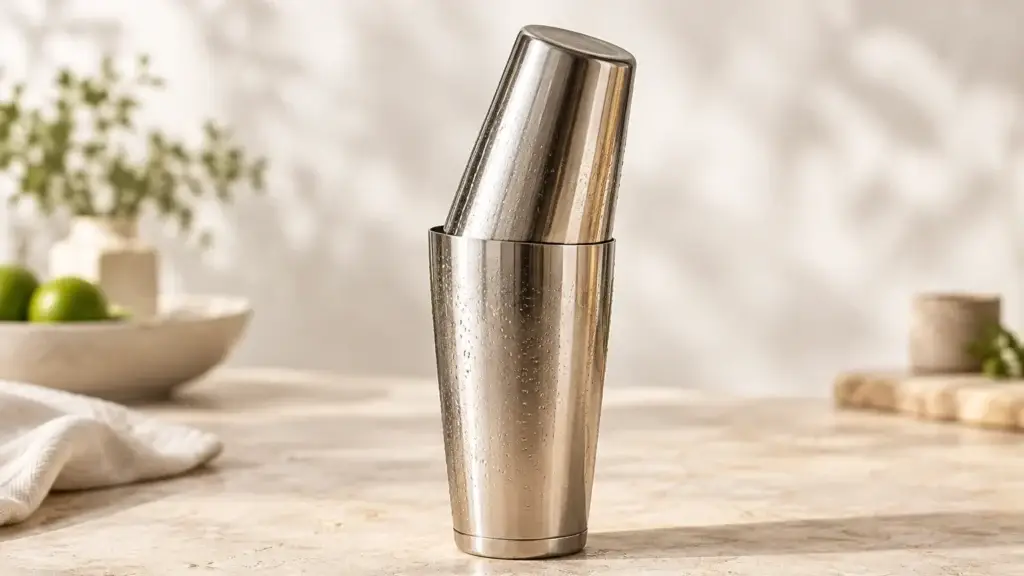 AI sample photography
A shaker has one job — chill, dilute and aerate a drink in about twelve seconds — and the two-piece tin-on-tin Boston does it better than any other design. It seals harder, breaks apart easier, chills faster and cannot jam, which is the entire charge sheet against the three-piece cobbler it replaced.
Our picks
Buy two weighted stainless tins: a large one of roughly 28oz and a small one of roughly 18oz. This is the professional standard and costs very little. Weighted means a thickened base, which gives the tins heft so they sit still and seal with a tap rather than a wallop.
Look for a rolled edge on both tins and a slight taper. Koriko-style tins — the shape most bar suppliers copy — are the reference design for a reason: the geometry seals reliably without requiring force.
A tin-and-pint-glass Boston is the older configuration and still works. It is heavier, slower to chill, and it breaks, which is why bars abandoned it.
How to choose
The seal is everything, and it comes from the taper, not from the price. If you can, buy both tins from the same maker and the same range — mixed tins from different suppliers often will not seal, and nothing about the packaging tells you that in advance.
Check the base thickness: a weighted tin feels substantially heavier than an unweighted one of the same size. Check the rim for dents, since a dented rim will never seal again and tins dent easily if dropped. And check the finish inside — a rough interior holds residue and is harder to clean.
Stainless steel, 18/8 or better. Avoid anything coated or painted on the inside, and treat exterior coloured finishes as decoration that will eventually chip.
How to use it
Build the drink in the small tin, fill the large tin about two-thirds with ice, and pour the small into the large. Seat the small tin into the large at a slight angle — not straight down — and strike the top firmly once with the heel of your hand. A correctly seated pair seals with a dull thud and no give.
Shake with the large tin towards you and both hands holding the join, hard, for about twelve seconds. There is detail on grip and motion in how to shake a cocktail.
To break the seal, hold the join with the large tin underneath and strike the point where the tins meet — the heel of your hand against the side of the large tin, at the spot where the small tin’s rim sits inside. One firm tap at the right place opens it; hammering at random does not. The seal tightens as the metal contracts in the cold, so expect to need a real strike.
Strain through a Hawthorne strainer, adding a fine mesh strainer for anything with fruit, herbs or egg.
What to skip
Skip the cobbler shaker, the three-piece with the built-in strainer and little cap. The cap seizes when cold and the built-in strainer is too coarse for most drinks and too slow for all of them. It looks the part and is a worse tool.
Skip glass-on-tin unless you have a reason to prefer it — glass is slower to chill, heavier, and the failure mode is broken glass in a drink.
Skip novelty shakers with recipes printed on them, and anything with a plastic seal or silicone gasket, which perishes. Skip the idea that you need a third tin: two is the whole system.
Questions
What size tins should I buy? A 28oz large and an 18oz small, both weighted, ideally from the same range.
Why will my tins not seal? Usually mismatched tins from different makers, or a dented rim. Seat at an angle and strike once, firmly.
How do I get them apart? Strike the join with the heel of your hand at the point where the small tin’s rim sits inside the large one.
Is a cobbler shaker acceptable? It works. It is slower, it jams, and its strainer is too coarse.
Can I use a jam jar? For one drink, yes. It will leak and it will not chill as fast.
Read the full bar tools guide — which seven tools to buy, in what order, and what to ignore.