
Lewis Bag and Mallet
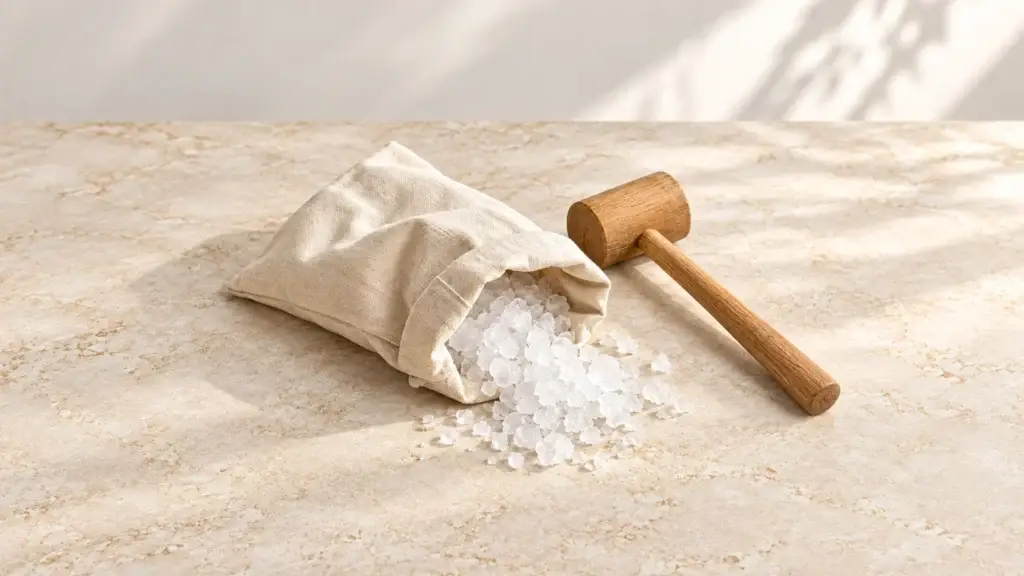 AI sample photography
A Lewis bag is a canvas sack you hit with a mallet, which is an unusually direct piece of technology for a modern bar. It exists because the canvas absorbs the meltwater as the ice shatters, and dry crushed ice is a completely different ingredient from the wet slush a blender produces.
Our picks
Buy a heavy untreated canvas or duck-cotton bag with a fold-over or drawstring top, around 15 by 30cm, and a hardwood mallet. That is the whole kit and it is inexpensive.
The canvas must be undyed and uncoated. Dye leaches into ice, and a waterproof coating defeats the entire purpose — the absorbency is the function.
A wooden mallet is traditional, kinder to the bag and perfectly effective. A rubber mallet from a hardware shop works and lasts longer. A rolling pin is a legitimate substitute.
How to choose
Check the weight of the canvas. Thin cotton tears within a few uses; heavy duck canvas lasts years. Double-stitched seams are worth looking for, because the seams are what fail.
Check the closure. A simple fold-over flap is more durable than a zip, and a zip is a cold metal part that will eventually seize or snag.
Check the size against how much ice you crush at once. A bag that is too large leaves the ice spread thin and you end up chasing cubes with the mallet; 15 by 30cm holds enough for two or three drinks.
If it is sold pre-treated or “waterproof”, it is the wrong product.
How to use it
Put in a single layer of cubes — about a cup, no more. Overfilling is the usual mistake: the cubes cushion each other and you get a mix of powder and untouched cubes.
Fold the top over, lay the bag flat on a solid surface, and strike firmly and evenly across it. A chopping board on a worktop is ideal; a bare stone counter transmits the shock badly and a thin table will object.
Strike with weight rather than speed, and work across the bag rather than hammering one spot. Six to ten strikes gives coarse crushed; another handful gives the fine, snowy texture a Mint Julep wants.
Tip it straight into the glass. Crushed ice should be used immediately — it melts far faster than cubes because you have just multiplied its surface area enormously.
Use it for juleps, swizzles, smashes and tiki: a Queen’s Park Swizzle, a Bramble, a Zombie. See swizzled drinks and ice and dilution.
Afterwards, hang it to dry completely before folding it away. A damp canvas bag in a drawer goes mouldy, and that is how most of them die.
What to skip
Skip the blender for crushed ice. It produces wet slush, it waters the drink immediately, and it is unkind to the blades.
Skip coated or dyed bags, and skip plastic bags — they do not absorb, they burst, and you get shards across the kitchen.
Skip metal mallets, which cut the canvas. Skip crushing on a glass or stone worktop without a board between.
And skip storing it damp, which is the one mistake that will actually ruin it.
Questions
Why not just use a blender? A blender makes wet slush. Canvas absorbs the meltwater, so the ice stays dry and dilutes less.
What can I use instead? A clean tea towel and a rolling pin. Same principle, slightly messier.
How much ice at a time? About a cup, in a single layer. Overfilling gives uneven results.
How do I stop it going mouldy? Hang it up and let it dry completely before putting it away.
Can I wash it? Rinse in plain water and air dry. Avoid detergent, which the canvas holds on to.
Read the full bar tools guide — which seven tools to buy, in what order, and what to ignore.